Layouts
ActiveX/Java Uploader has two different-looking layouts that determine its appearance. To specify which one of them should be used, set the Uploader.PaneLayout property.
Three Panes Layout
This is a default layout which consists of three panes:
- Tree pane is the folder tree allowing users to navigate their file systems.
- Folder pane displays the content of the currently selected folder.
- Upload pane contains files ready to be uploaded.
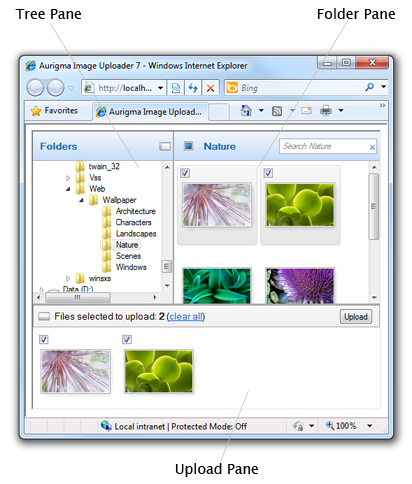
Both the tree and upload panes are collapsible.
ActiveX/Java Uploader displays this layout when the Uploader.PaneLayout property is ThreePanes.
ASP.NET
<aur:Uploader ID="Uploader1" runat="server"
    PaneLayout="ThreePanes" />
PHP
$uploader = new Uploader("Uploader1");
$uploader->setPaneLayout("ThreePanes");
JavaScript
var u = $au.uploader({
    id: 'Uploader1',
    paneLayout: 'ThreePanes'
});
Uploading Files
To upload files in this layout, follow these steps:
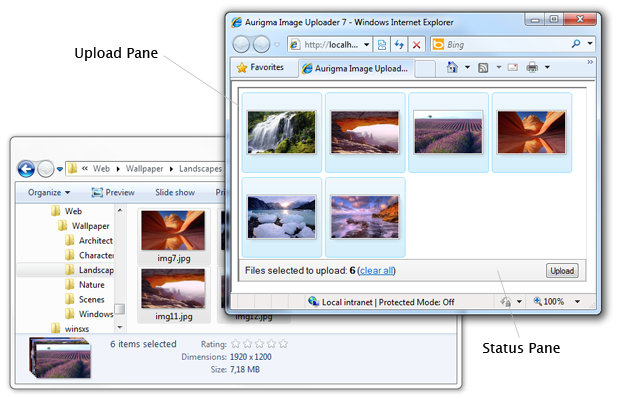
- In the tree pane select a folder containing necessary files and/or folders.
- In the folder pane check desired files and/or folders or drag-and-drop them onto the upload pane. To check all files at once use the Check all option of the context menu.
- Select necessary files and/or folders in Windows Explorer, Finder, or any other graphic shell you use and drop them onto the upload pane.
- Repeat Steps 1-3 until all the necessary files are added to the upload pane.
- Click the Upload button.
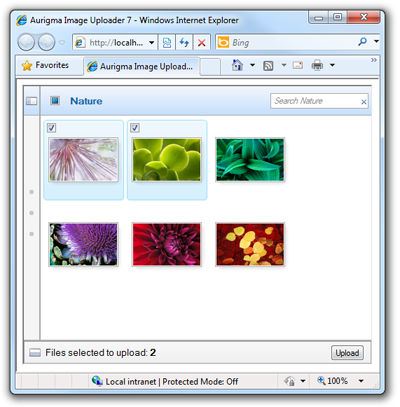
One Pane Layout
The one pane layout is more minimalistic than a default one. Here ActiveX/Java Uploader displays only the upload pane representing a list of files selected for upload.
To specify this layout set the Uploader.PaneLayout property to the
OnePane value:
ASP.NET
<aur:Uploader ID="Uploader1" runat="server"
    PaneLayout="OnePane" />
PHP
$uploader = new Uploader("Uploader1");
$uploader->setPaneLayout("OnePane");
JavaScript
var u = $au.uploader({
    id: 'Uploader1',
    paneLayout: 'OnePane'
});
Uploading Files
- Add files to the upload pane using the following ways:
- Select necessary files and/or folders in Windows Explorer, Finder, or any other graphic shell you use and drop them onto the upload pane.
- Call the uploadPane.addFiles() method and select files in the standard Open File dialog.
- Call the uploadPane.addFolders() method and select a folder in the standard Open Folder dialog.
- Repeat Step 1 until all the necessary files are added to the upload pane.
- Click the Upload button.