Installing ActiveX/Java Uploader on Client Side
When a user visits the page that contains ActiveX/Java Uploader, it is automatically downloaded and installed. This process is discussed below.
Internet Explorer on Windows
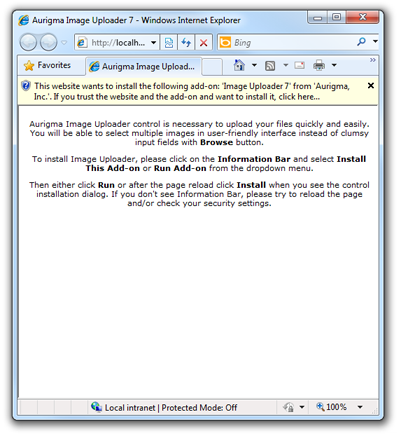
Depending on Internet Explorer settings, the Information Bar can be displayed.
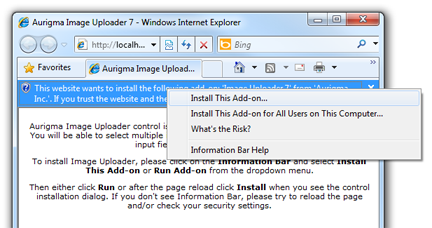
A user should click on the Information Bar and select Install This Add-on or Run Add-on from the dropdown menu.
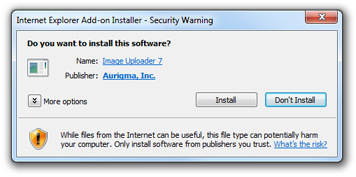
Then a user should click Install in the add-on installation dialog.
By default, Internet Explorer settings allow automatic installation of add-ons (with security dialog). However, sometimes automatic installation is disabled. Usually it happens in corporate networks if the security policy of the company does not allow it. The following two sections tells how users with such security settings can install ActiveX/Java Uploader.
Once ActiveX/Java Uploader is installed, it will not be downloaded again. If you need to update it (e.g. when deploying a new version), find instructions in the Upgrading Minor Versions topic.
Installing ActiveX/Java Uploader ActiveX on x86 Platform Manually
Firstly, you can provide users with a standalone installer (UploadSuiteRedistributable.msi). It can be downloaded from the following location:
http://www.aurigma.com/downloads/upload-suite
Alternatively, they can download the /Scripts/Uploader8.cab from your site and register ActiveX/Java Uploader manually by extracting the
OCX file from Uploader8.cab and running regsvr32
utility for this file:
regsvr32 Uploader8.ocx
Installing ActiveX/Java Uploader ActiveX on x64 Platform Manually
For installing 64-bit version you can provide users with standalone installers (UploadSuiteRedistributable.msi and UploadSuiteRedistributable_x64.msi). They can be downloaded from the following location:
http://www.aurigma.com/downloads/upload-suite
On x64 platform both installers should be run.
Alternatively, users can download the /Scripts/Uploader8.cab and /Scripts/Uploader8_x64.cab from your site and register ActiveX/Java Uploader manually by extracting the OCX files from Uploader8_x64.cab and Uploader8.cab and running regsvr32 utility for these files:
regsvr32 Uploader8.ocx
regsvr32 Uploader8_x64.ocx
Other Browsers and Operating Systems
If users open a page with ActiveX/Java Uploader in one of the other supported browsers, they should make sure that Java Runtime Environment (JRE) 1.5 or later is installed. If so, ActiveX/Java Uploader will be automatically downloaded and installed. Depending on the browser settings, security dialog prompting whether a user permits installation of ActiveX/Java Uploader may be displayed.
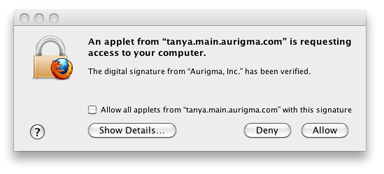
Users should click the Yes button (or OK depending on the client platform) to proceed with installation.
If Java applet caching is enabled on the client side and you use caching in the code (as done in all demo applications), once ActiveX/Java Uploader is loaded on this page, it is cached and will not be downloaded again. If you need to update it (e.g. when deploying a new version), find instructions in the Upgrading Minor Versions topic.
ActiveX/Java Uploader Installation Progress
Moreover, ActiveX/Java Uploader wrappers allow displaying special instructions helping users to download and install the add-on. This feature is called installation progress and looks like the following screenshot:
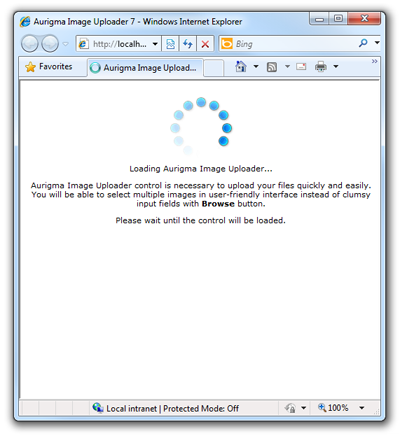
Find details about this feature in the Using ActiveX Uploader Installation Progress topic.