Inserting Image Uploader into Web Page
Image Uploader is not a standalone application. It can be interpreted as a "browser add-on" that should be embedded into a page. This topic demonstrates how to do it.
In this topic:
Installing Image Uploader SDK
To be able to work with Image Uploader, you need to download and install Image Uploader SDK. This SDK contains documentation, demo applications, and redistributable files:
- ImageUploader37.cab
- ImageUploader37.jar
- iuembed.js
Image Uploader SDK package (ImageUploader.exe file) can be downloaded at this location:
http://www.aurigma.com/Products/DownloadFile.aspx?ID=105
Run this file and follow the wizard steps. On one of these steps you specify the folder where to install all Image Uploader SDK files. Typically this is C:\Program Files\Aurigma\Image Uploader 6.5 Dual. You will find all necessary files there.
Adding Image Uploader to HTML Code
Different browsers have different syntax to insert Java applets. None of browsers except of Internet Explorer can work with ActiveX controls. Hence, you may think that it is necessary to write different codes for different browsers to work with Image Uploader.
Fortunately, you do not need to do it. Image Uploader comprises a special helper JavaScript file called iuembed.js. This JavaScript unifies work with different browsers, as well as provides some handy features. You can learn about this script more detailed in the Image Uploader Embedding Scripts Library Reference.
So, to insert Image Uploader to the page, follow these steps:
- Copy these files to your web server:
- ImageUploader37.cab
- ImageUploader37.jar
- iuembed.js
- Link iuembed.js with the page by inserting the following line in the beginning of the page:
JavaScript
<script type="text/javascript" src="iuembed.js"></script>
- Add JavaScript block in the position where you want to insert Image Uploader. This JavaScript should do the following:
- Create an instance of ImageUploaderWriter.
- If you do not want to use ActiveX or Java version, set the activeXControlEnabled or
javaAppletEnabled correspondingly to
false. - If ActiveX version is enabled, specify URL to the ImageUploader37.cab file via the activeXControlCodeBase property. You can use relative URL.
- If Java version is enabled, specify URL to the folder where ImageUploader37.jar file is located via the
javaAppletCodeBase property. You can use relative URL. If the JAR file is located in the same folder with the page, use
./. - Configure Image Uploader by adding parameters using the addParam method.
- Call the writeHtml method.
Here is an example of JavaScript that embeds Image Uploader into the page.
<script language="javascript" src="iuembed.js">  </script>
<script language="javascript">
var iu = new ImageUploaderWriter("ImageUploader", 650, 450);

// If you do not want to use ActiveX or Java version, set the appropriate
// property to false.
iu.activeXControlEnabled = true;
iu.javaAppletEnabled = true;

iu.activeXControlCodeBase = "ImageUploader6.cab";
iu.javaAppletCodeBase="./";

// ... initialize params as described in the next topic ...

// As soon as you call this method, all necessary HTML code is inserted
// into the page on the current position. Alternatively, you can
// get the string with appropriate HTML code using the getHtml method,
// and write it to the necessary position manually (maybe with some modifications).
iu.writeHtml();
</script>
That is all. Now if you try to open this page in the browser, you will see that Image Uploader will be loaded.
Installing on Client Side
When the user visits the page that contains Image Uploader, it is automatically downloaded and installed. This process is discussed below.
ActiveX
Depending on Internet Explorer settings, the Information Bar may be displayed.
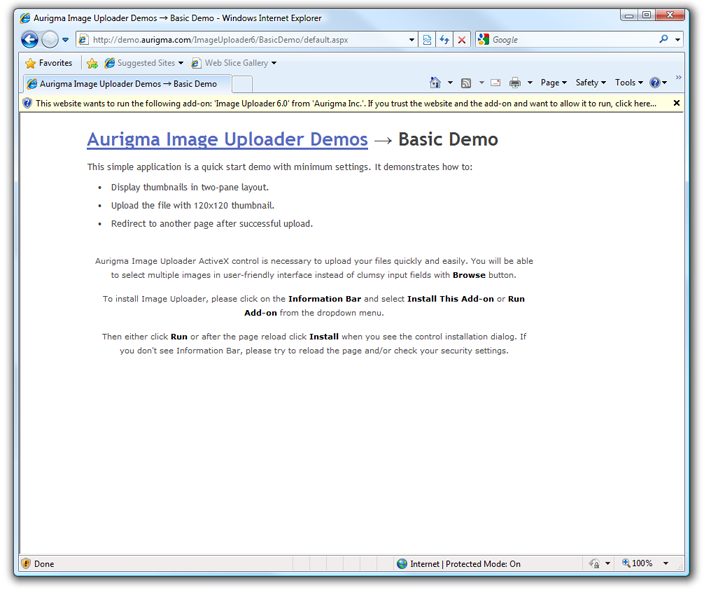
Figure 1.1. Installation in Internet Explorer 8.
The user should click on the Information Bar and select Install This Add-on or Run Add-on from the dropdown menu.
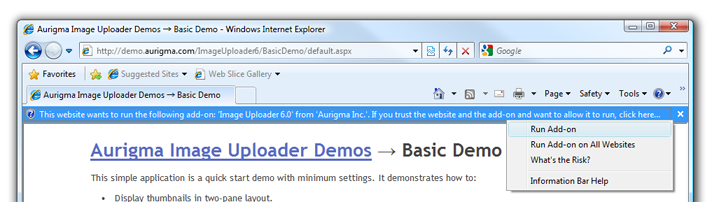
Figure 1.2. Information bar for ActiveX control installation in Internet Explorer 8.
Then the user should click Install in the add-on installation dialog.
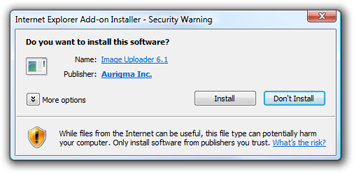
Figure 1.3. Add-on installation dialog in Internet Explorer 8.
By default, Internet Explorer settings allow automatic installation of ActiveX controls (with security dialog). However, sometimes automatic installation is disabled. Typically it happens in corporate networks if the security policy of the company does not allow it.
To give users with such security settings a possibility to use Image Uploader, you can provide them with a standalone installer. It can be downloaded from the following location:
http://www.aurigma.com/Products/DownloadFile.aspx?ID=107
Alternatively, you can register Image Uploader manually by extracting the OCX file from
ImageUploader37.cab and running regsvr32 utility for this file:
regsvr32 ImageUploader6.ocx
Once Image Uploader is installed, it will not be downloaded again. If you need to update it (e.g. when deploying new version), follow the steps described in the Upgrading Minor Versions topic.
Java
If Java Runtime Environment (JRE) version 1.5 or later is installed on the client computer and the user explores the page with one of the browsers that are compatible with JRE 1.5, ImageUploader37.jar is automatically downloaded and installed. Depending on the browser settings, security dialog prompting whether the user permits installation of Image Uploader may be displayed see the Figure 2.1 and Figure 2.2). The user should click the Yes button (or OK depending on the client platform) to proceed with installation.
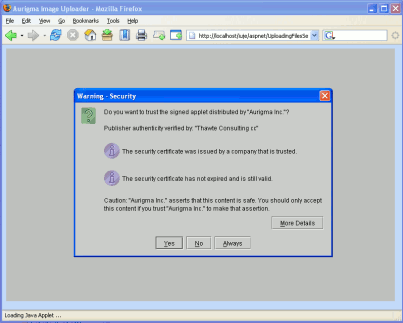
Figure 2.1. Security dialog on Mozilla Firefox.
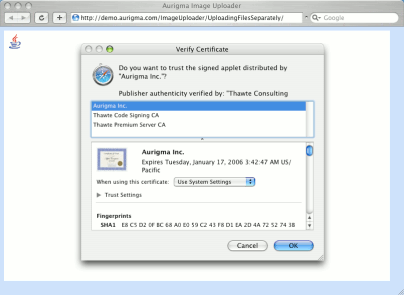
Figure 2.2. Security dialog on Safari.
If Java applet caching is enabled on the client side and you use caching in the code (as done in all demo applications), once Image Uploader is loaded on this page, it is cached and will not be downloaded again. If you need to update it (e.g. when deploying new version), follow steps described in the Upgrading Minor Versions topic.
What Next?
After you learn how to insert Image Uploader to the page, read how to configure parameters and write server-side upload processing code.